Types
Brands
- Acura
- Afeela
- Alfa Romeo
- Alligator
- Apollo Automobil
- Aprilia
- Arch
- Arctic Cat
- Aston Martin
- Audi
- Bentley
- BMW
- Bollinger
- Boss Hoss
- Buell
- Bugatti
- Buick
- Cadillac
- CanAm
- Caterham
- Chevrolet
- Chrysler
- Citroen
- Cleveland CycleWerks
- Curtiss
- Dacia
- Dodge
- Ducati
- Ferrari
- Fiat
- Fisker
- Ford
- General Motors
- Genesis
- GMC
- Harley Davidson
- Honda
- Husqvarna
- Hyundai
- Indian
- Ineos
- Infiniti
- Jaguar
- Janus
- Jeep
- Karma
- Kawasaki
- Kia
- Koenigsegg
- KTM
- Lamborghini
- Land Rover
- Lexus
- Lightning
- Lincoln
- Lordstown
- Lotus
- Lucid Motors
- Maserati
- Mazda
- McLaren
- Mercedes
- Mercury
- MG
- Mini Cooper
- Mitsubishi
- Moto Guzzi
- MTT
- Nikola
- NIO
- Nissan
- Pagani
- Peugeot
- Piaggio
- Polaris
- Polestar
- Pontiac
- Porsche
- Ram
- Renault
- Rimac
- Rivian
- Rokon
- RollsRoyce
- Royal Enfield
- Saab
- Saturn
- Scion
- SEAT
- Ski-Doo
- Skoda
- Smart
- Spyker
- Subaru
- Suzuki
- Tesla
- Toyota
- Triumph
- Vauxhall
- Vespa
- VinFast
- Volkswagen
- Volvo
- Yamaha
- Z Electric Vehicle
- Zero Motorcycles
Article Categories
- Acura News
- Alfa Romeo News
- Aston Martin News
- Audi News
- Bentley News
- BMW News
- Buick News
- Cadillac News
- Car News
- Chevrolet News
- Chrysler News
- Dodge News
- Fiat News
- Ford News
- GMC News
- Honda News
- Hyundai News
- Infiniti News
- Jaguar News
- Jeep News
- Kia News
- Lexus News
- Lincoln News
- Mazda News
- Mercedes News
- Nissan News
- Porsche News
- Subaru News
- Tesla News
- Tips and Tricks
- Toyota News
- Volkswagen News
- Volvo News
More Articles
How do I replace the brake pads on my car?
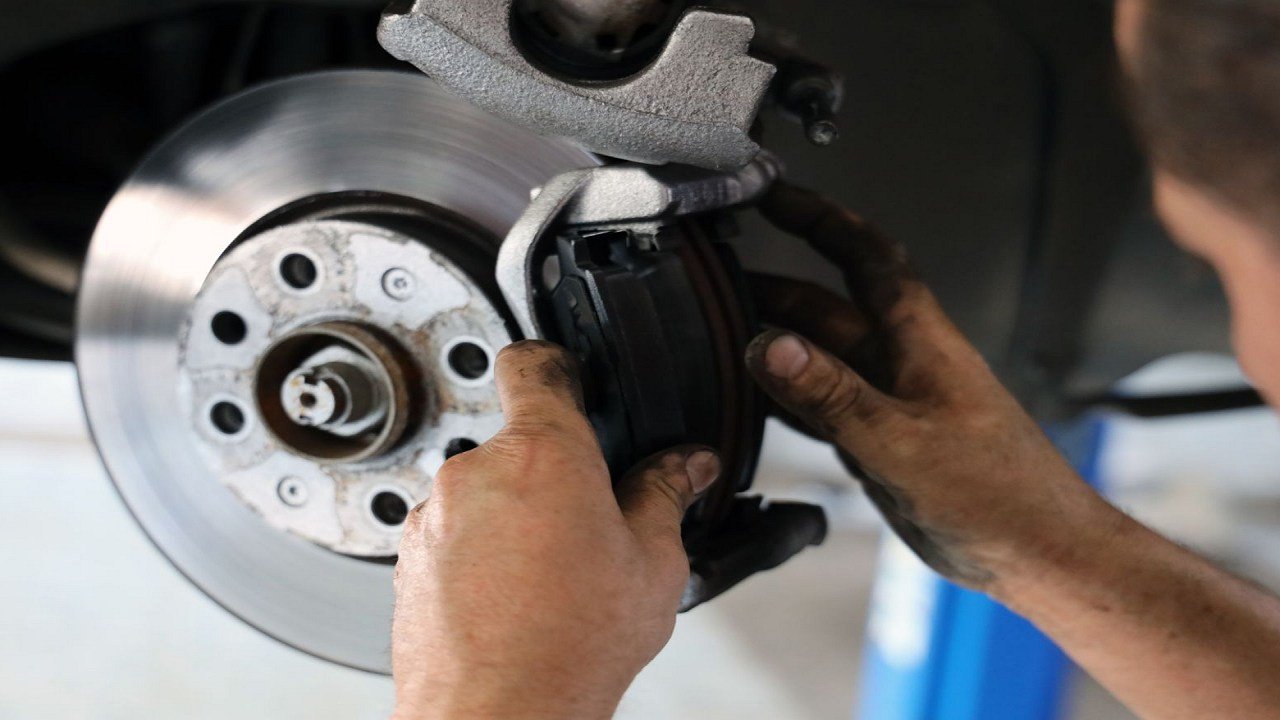
Replacing brake pads on your car is an important maintenance task that ensures safe braking performance. Keep in mind that brake systems can vary between car models, so it's essential to refer to your car's specific repair manual for detailed instructions. However, here's a general step-by-step guide on how to replace brake pads:
Tools and Materials Needed:
New brake pads.
Jack and jack stands.
Lug wrench.
C-clamp or brake caliper tool.
Socket set.
Brake cleaner.
Brake grease.
Torque wrench.
Step 1: Preparation:
Park your car on a level surface and engage the parking brake.
Loosen the lug nuts on the wheel of the brake pads you're replacing but don't remove them entirely.
Step 2: Jacking Up the Car:
Use the jack to lift the car off the ground and secure it on jack stands.
Remove the lug nuts and take off the wheel.
Step 3: Accessing the Brake Caliper:
Locate the brake caliper, which is usually held in place by two bolts on the backside of the caliper.
Remove the caliper bolts using the appropriate socket or wrench.
Step 4: Removing the Old Brake Pads:
Slide the brake caliper off the brake rotor carefully.
Take out the old brake pads from the caliper bracket.
Step 5: Compressing the Brake Caliper:
Before installing the new brake pads, you need to compress the brake caliper piston to make room for the new, thicker pads.
Use a C-clamp or a brake caliper tool to gently compress the piston back into the caliper.
Step 6: Installing the New Brake Pads:
Apply a thin layer of brake grease to the back of the new brake pads.
Slide the new pads into the caliper bracket.
Step 7: Reassembling the Brake Caliper:
Carefully place the brake caliper back over the brake pads and onto the rotor.
Tighten the caliper bolts to the manufacturer's recommended torque specification using a torque wrench.
Step 8: Reinstalling the Wheel:
Put the wheel back on and hand-tighten the lug nuts.
Lower the car back to the ground using the jack and remove the jack stands.
Fully tighten the lug nuts in a crisscross pattern.
Step 9: Testing and Bedding In:
Before driving, gently pump the brake pedal a few times to ensure proper brake caliper positioning.
Take your car for a test drive in a safe area to bed in the new brake pads. Follow any recommended bedding-in procedures provided by the brake pad manufacturer.
Remember, if you're not comfortable performing this task, it's best to seek professional assistance from a qualified mechanic to ensure the brakes are replaced correctly and safely. Brakes are critical for your safety, and proper installation is essential for reliable braking performance.
Elon Musk Says He Will Not Sell Tesla Shares for at Least 2 Years

Cartoonified Volkswagen GTI Plays Tricks On Your Eyes

Tesla Cybertruck Manufacturing Confirmation Units Spotted In New Drone Video

Tesla Still Faces Direct Sales Laws Across USA

Tesla sponsors sustainability project for church in Oakland

Why Lucid is Cheering the End of the Tesla

Tesla Launches Powerwall Home Battery Sales in Malta

Tesla Battery Longevity Slightly Better In Colder Climates

Rivian Startup Spinoff Raises Capital For Micro EV Production

Ford teases mystery EV SUV for Europe