Types
Brands
- Acura
- Afeela
- Alfa Romeo
- Alligator
- Apollo Automobil
- Aprilia
- Arch
- Arctic Cat
- Aston Martin
- Audi
- Bentley
- BMW
- Bollinger
- Boss Hoss
- Buell
- Bugatti
- Buick
- Cadillac
- CanAm
- Caterham
- Chevrolet
- Chrysler
- Citroen
- Cleveland CycleWerks
- Curtiss
- Dacia
- Dodge
- Ducati
- Ferrari
- Fiat
- Fisker
- Ford
- General Motors
- Genesis
- GMC
- Harley Davidson
- Honda
- Husqvarna
- Hyundai
- Indian
- Ineos
- Infiniti
- Jaguar
- Janus
- Jeep
- Karma
- Kawasaki
- Kia
- Koenigsegg
- KTM
- Lamborghini
- Land Rover
- Lexus
- Lightning
- Lincoln
- Lordstown
- Lotus
- Lucid Motors
- Maserati
- Mazda
- McLaren
- Mercedes
- Mercury
- MG
- Mini Cooper
- Mitsubishi
- Moto Guzzi
- MTT
- Nikola
- NIO
- Nissan
- Pagani
- Peugeot
- Piaggio
- Polaris
- Polestar
- Pontiac
- Porsche
- Ram
- Renault
- Rimac
- Rivian
- Rokon
- RollsRoyce
- Royal Enfield
- Saab
- Saturn
- Scion
- SEAT
- Ski-Doo
- Skoda
- Smart
- Spyker
- Subaru
- Suzuki
- Tesla
- Toyota
- Triumph
- Vauxhall
- Vespa
- VinFast
- Volkswagen
- Volvo
- Yamaha
- Z Electric Vehicle
- Zero Motorcycles
Article Categories
- Acura News
- Alfa Romeo News
- Aston Martin News
- Audi News
- Bentley News
- BMW News
- Buick News
- Cadillac News
- Car News
- Chevrolet News
- Chrysler News
- Dodge News
- Fiat News
- Ford News
- GMC News
- Honda News
- Hyundai News
- Infiniti News
- Jaguar News
- Jeep News
- Kia News
- Lexus News
- Lincoln News
- Mazda News
- Mercedes News
- Nissan News
- Porsche News
- Subaru News
- Tesla News
- Tips and Tricks
- Toyota News
- Volkswagen News
- Volvo News
More Articles
How do I replace a damaged car door handle?
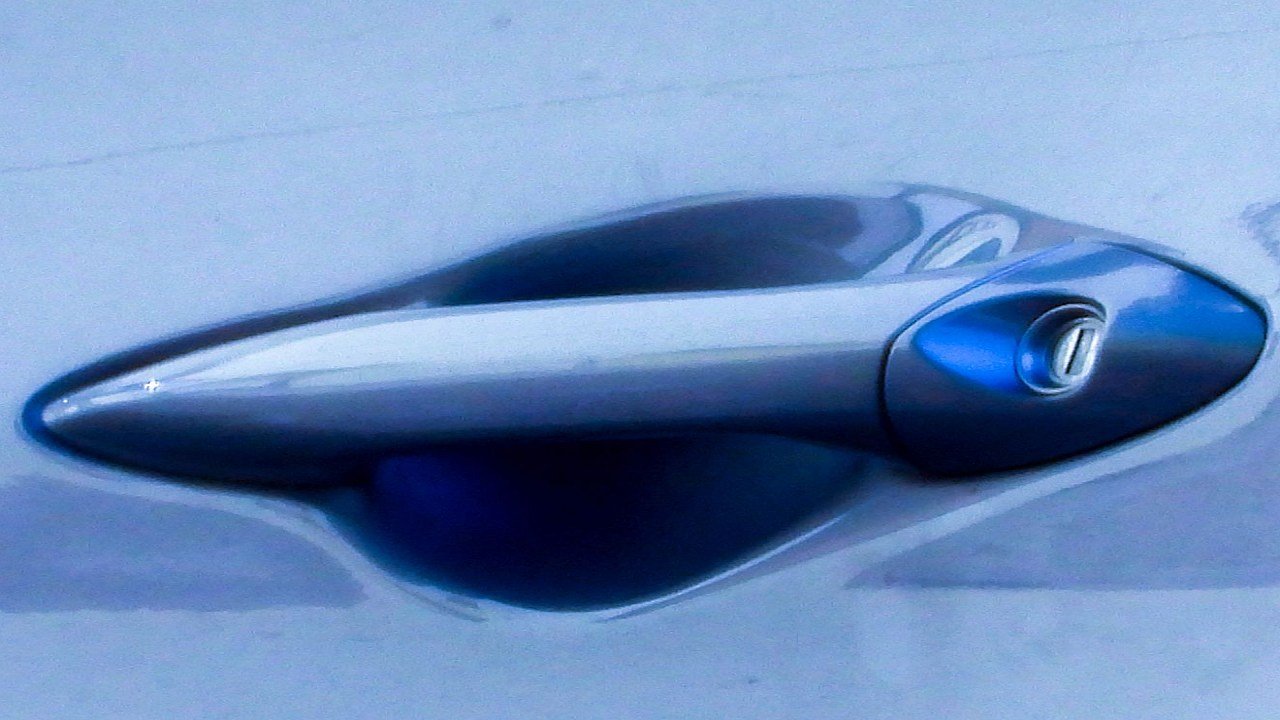
Replacing a damaged car door handle can vary in complexity depending on your vehicle's make and model. Here are general steps to guide you through the process. Keep in mind that it's essential to consult your vehicle's service manual for specific instructions and safety precautions. If you're not comfortable with DIY car repairs, consider seeking professional assistance.
Tools and Materials You May Need:
Replacement door handle.
Screwdrivers (Phillips and flat-head).
Pliers.
Trim removal tools.
Socket and wrench set.
Torx or Allen wrenches (if applicable).
A plastic bag or container (for storing screws and parts).
Safety glasses and gloves.
Step-by-Step Instructions:
Gather Necessary Tools:
Ensure you have all the required tools and materials handy.
Disconnect the Battery (if necessary):
Disconnect the vehicle's battery to avoid accidental electrical shocks.
Remove the Interior Door Panel:
Use trim removal tools or a flat-head screwdriver to carefully pry off the interior door panel.
Locate and remove any screws or bolts holding the door panel in place.
Gently lift the panel upward and away from the door frame.
Disconnect any electrical connectors for switches or speakers if necessary.
Access the Door Handle Mechanism:
Once the door panel is removed, you'll have access to the door handle mechanism.
Inspect the handle for any visible damage or wear.
Remove the Handle Fasteners:
Locate the fasteners securing the door handle in place. These are typically bolts or screws.
Use the appropriate tools to remove the fasteners.
Keep track of the fasteners as you'll need them for the replacement.
Disconnect the Door Handle Rod:
Inside the door, there's usually a connecting rod or cable attached to the handle.
Disconnect this rod or cable from the handle.
Remove the Old Door Handle:
Carefully slide or wiggle the old door handle out from the exterior of the door.
Install the New Door Handle:
Insert the new door handle in place of the old one.
Reconnect the door handle rod or cable.
Secure the new handle with the fasteners you removed earlier.
Reassemble the Interior Door Panel:
Reconnect any electrical connectors.
Carefully position the interior door panel back in place.
Secure the panel with screws or bolts.
Snap any trim pieces or clips back into place.
Make sure everything is properly aligned and secured.
Reconnect the Battery:
Reconnect the vehicle's battery.
Test the Door Handle:
Test the new door handle to ensure it operates correctly.
Open and close the door several times to confirm that the handle works smoothly.
Replacing a car door handle can be a DIY project, but it does require patience and attention to detail. If you encounter any challenges or are uncomfortable with any step in the process, it's recommended to consult your vehicle's service manual or seek assistance from a professional mechanic or body shop.
Elon Musk Visit to India Scheduled For April 21st

Tesla Cybertruck Spotted With Calibration Equipment In California

ADS-TEC Energy Announces Battery-Based Fast Chargers With NACS and CCS1

Tesla Hiring For Commercial Charging Semi Role in Europe

We Sit Inside the Tesla Cybercab

Tesla Sales May Fall This Year Analyst Says

Tesla Seeks to Attract $1.8B for Securitization of EV Leases

Tesla Could Face New York Store Ban

Tesla FSD Gets Sparkling Review From South Korea

Tesla’s Head Of Investor Relations Challenges Toyota’s Claims On EV Adoption