Types
Brands
- Acura
- Afeela
- Alfa Romeo
- Alligator
- Apollo Automobil
- Aprilia
- Arch
- Arctic Cat
- Aston Martin
- Audi
- Bentley
- BMW
- Bollinger
- Boss Hoss
- Buell
- Bugatti
- Buick
- Cadillac
- CanAm
- Caterham
- Chevrolet
- Chrysler
- Citroen
- Cleveland CycleWerks
- Curtiss
- Dacia
- Dodge
- Ducati
- Ferrari
- Fiat
- Fisker
- Ford
- General Motors
- Genesis
- GMC
- Harley Davidson
- Honda
- Husqvarna
- Hyundai
- Indian
- Ineos
- Infiniti
- Jaguar
- Janus
- Jeep
- Karma
- Kawasaki
- Kia
- Koenigsegg
- KTM
- Lamborghini
- Land Rover
- Lexus
- Lightning
- Lincoln
- Lordstown
- Lotus
- Lucid Motors
- Maserati
- Mazda
- McLaren
- Mercedes
- Mercury
- MG
- Mini Cooper
- Mitsubishi
- Moto Guzzi
- MTT
- Nikola
- NIO
- Nissan
- Pagani
- Peugeot
- Piaggio
- Polaris
- Polestar
- Pontiac
- Porsche
- Ram
- Renault
- Rimac
- Rivian
- Rokon
- RollsRoyce
- Royal Enfield
- Saab
- Saturn
- Scion
- SEAT
- Ski-Doo
- Skoda
- Smart
- Spyker
- Subaru
- Suzuki
- Tesla
- Toyota
- Triumph
- Vauxhall
- Vespa
- VinFast
- Volkswagen
- Volvo
- Yamaha
- Z Electric Vehicle
- Zero Motorcycles
Article Categories
- Acura News
- Alfa Romeo News
- Aston Martin News
- Audi News
- Bentley News
- BMW News
- Buick News
- Cadillac News
- Car News
- Chevrolet News
- Chrysler News
- Dodge News
- Fiat News
- Ford News
- GMC News
- Honda News
- Hyundai News
- Infiniti News
- Jaguar News
- Jeep News
- Kia News
- Lexus News
- Lincoln News
- Mazda News
- Mercedes News
- Nissan News
- Porsche News
- Subaru News
- Tesla News
- Tips and Tricks
- Toyota News
- Volkswagen News
- Volvo News
More Articles
How do I replace a burned-out headlight bulb?
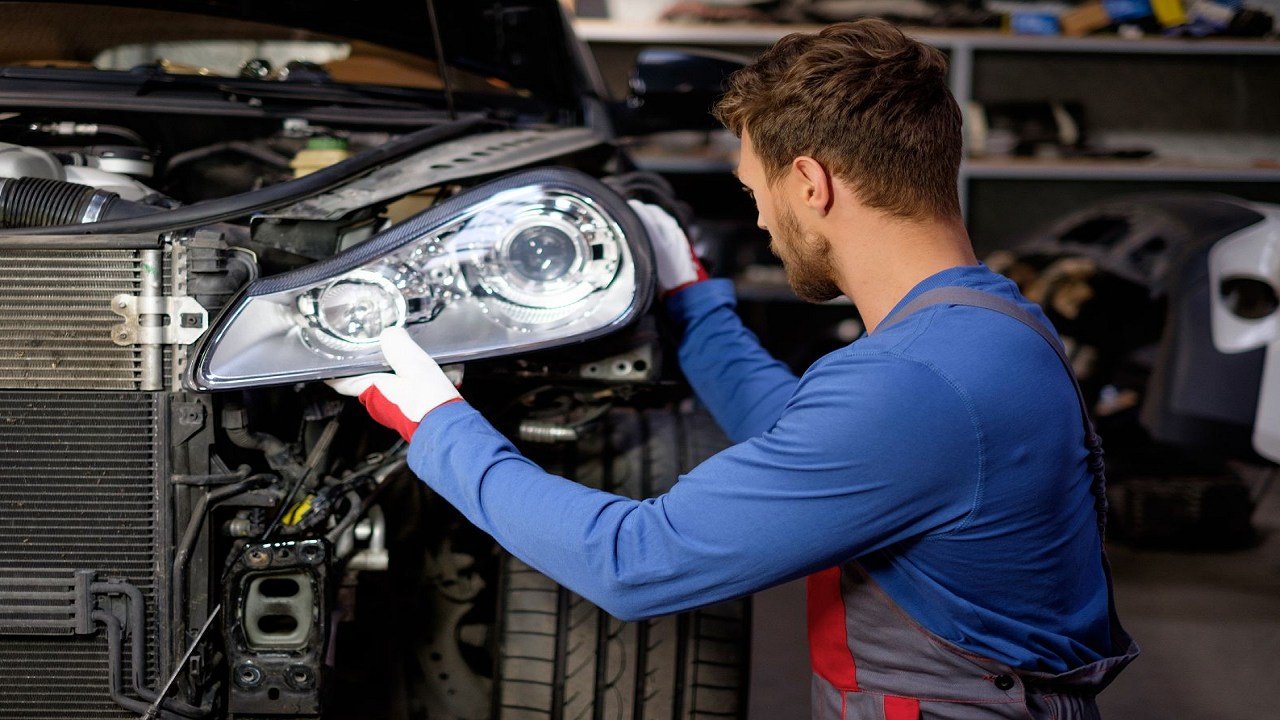
Replacing a burned-out headlight bulb is a relatively straightforward process. Here's a step-by-step guide to help you do it safely and efficiently:
Note: Before starting, consult your vehicle's owner's manual for specific instructions and bulb specifications for your particular car model, as the process may vary slightly.
1. Gather the Necessary Tools:
New headlight bulb (ensure it matches the specifications for your vehicle).
Screwdriver (if required for removing headlight housing).
Latex or nitrile gloves (optional, but recommended to avoid touching the bulb with bare hands).
2. Park and Turn off the Vehicle: Ensure the vehicle is turned off and the keys are removed from the ignition. Park on a flat surface and engage the parking brake for added safety.
3. Access the Headlight Bulb: Locate the headlight housing from the outside of the vehicle. In some cars, you may need to open the hood to access the headlight assembly. Check your owner's manual for the specific location and procedure.
4. Remove the Headlight Housing (If Necessary): Some vehicles may require removing the headlight housing to access the bulb. If so, use a screwdriver or the appropriate tool to remove any screws or clips securing the housing. Gently pull the housing forward to expose the backside.
5. Disconnect the Wiring Harness: Locate the wiring harness connected to the back of the headlight bulb. Hold the connector firmly and carefully unplug it from the bulb by pulling it straight back.
6. Remove the Old Bulb: Depending on the type of headlight assembly, you may need to twist, unclip, or unfasten a retaining ring to release the bulb. Once the bulb is free, gently pull it straight out of the socket. Be cautious not to touch the new bulb with your bare hands, as oils from your skin can damage the bulb.
7. Install the New Bulb: Use a clean cloth or wear latex/nitrile gloves to handle the new bulb. Insert the new bulb into the socket, making sure it's properly aligned. If there is a retaining ring, secure it back in place.
8. Reconnect the Wiring Harness: Plug the wiring harness back into the socket until it clicks into place. Ensure a secure connection.
9. Test the Headlights: Before reassembling anything, turn on your vehicle's headlights to confirm that the new bulb is working correctly.
10. Reassemble the Headlight Housing (If Removed): If you removed the headlight housing, carefully align it back into place and secure any screws or clips that hold it in position.
11. Repeat for the Other Headlight (If Needed): If both headlights need replacement, repeat the same process for the other side.
Always make sure to dispose of the old headlight bulb properly and avoid touching the glass part of the new bulb. If you're unsure about replacing the headlight bulb yourself, it's best to seek assistance from a professional mechanic.
Tesla Begins Wide Rollout Of Full Self-Driving Beta Version 11

Tesla Giga Berlin Production Slows To Less Than 4000 EVs Per Week

Tesla Megapacks Arrive For Massive Battery Replacing Coal Plant

EV charging infrastructure strength in each U.S. state analyzed in new study

Tesla Brings Distance Measurements to Cars With No Ultrasonic Sensors

Caltrans Orders 399 Tesla Model 3s

Baidu Might Use Tesla Robotaxi Tech in China

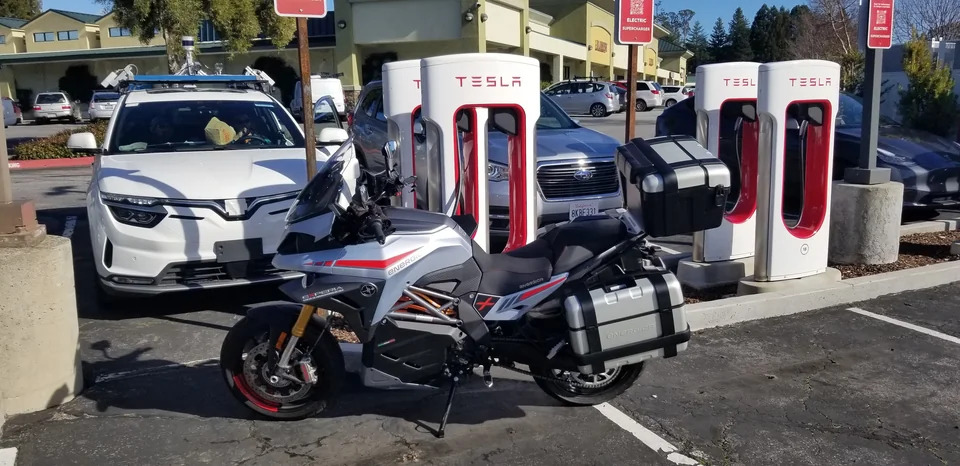
Tesla Superchargers are already attracting electric motorcycles
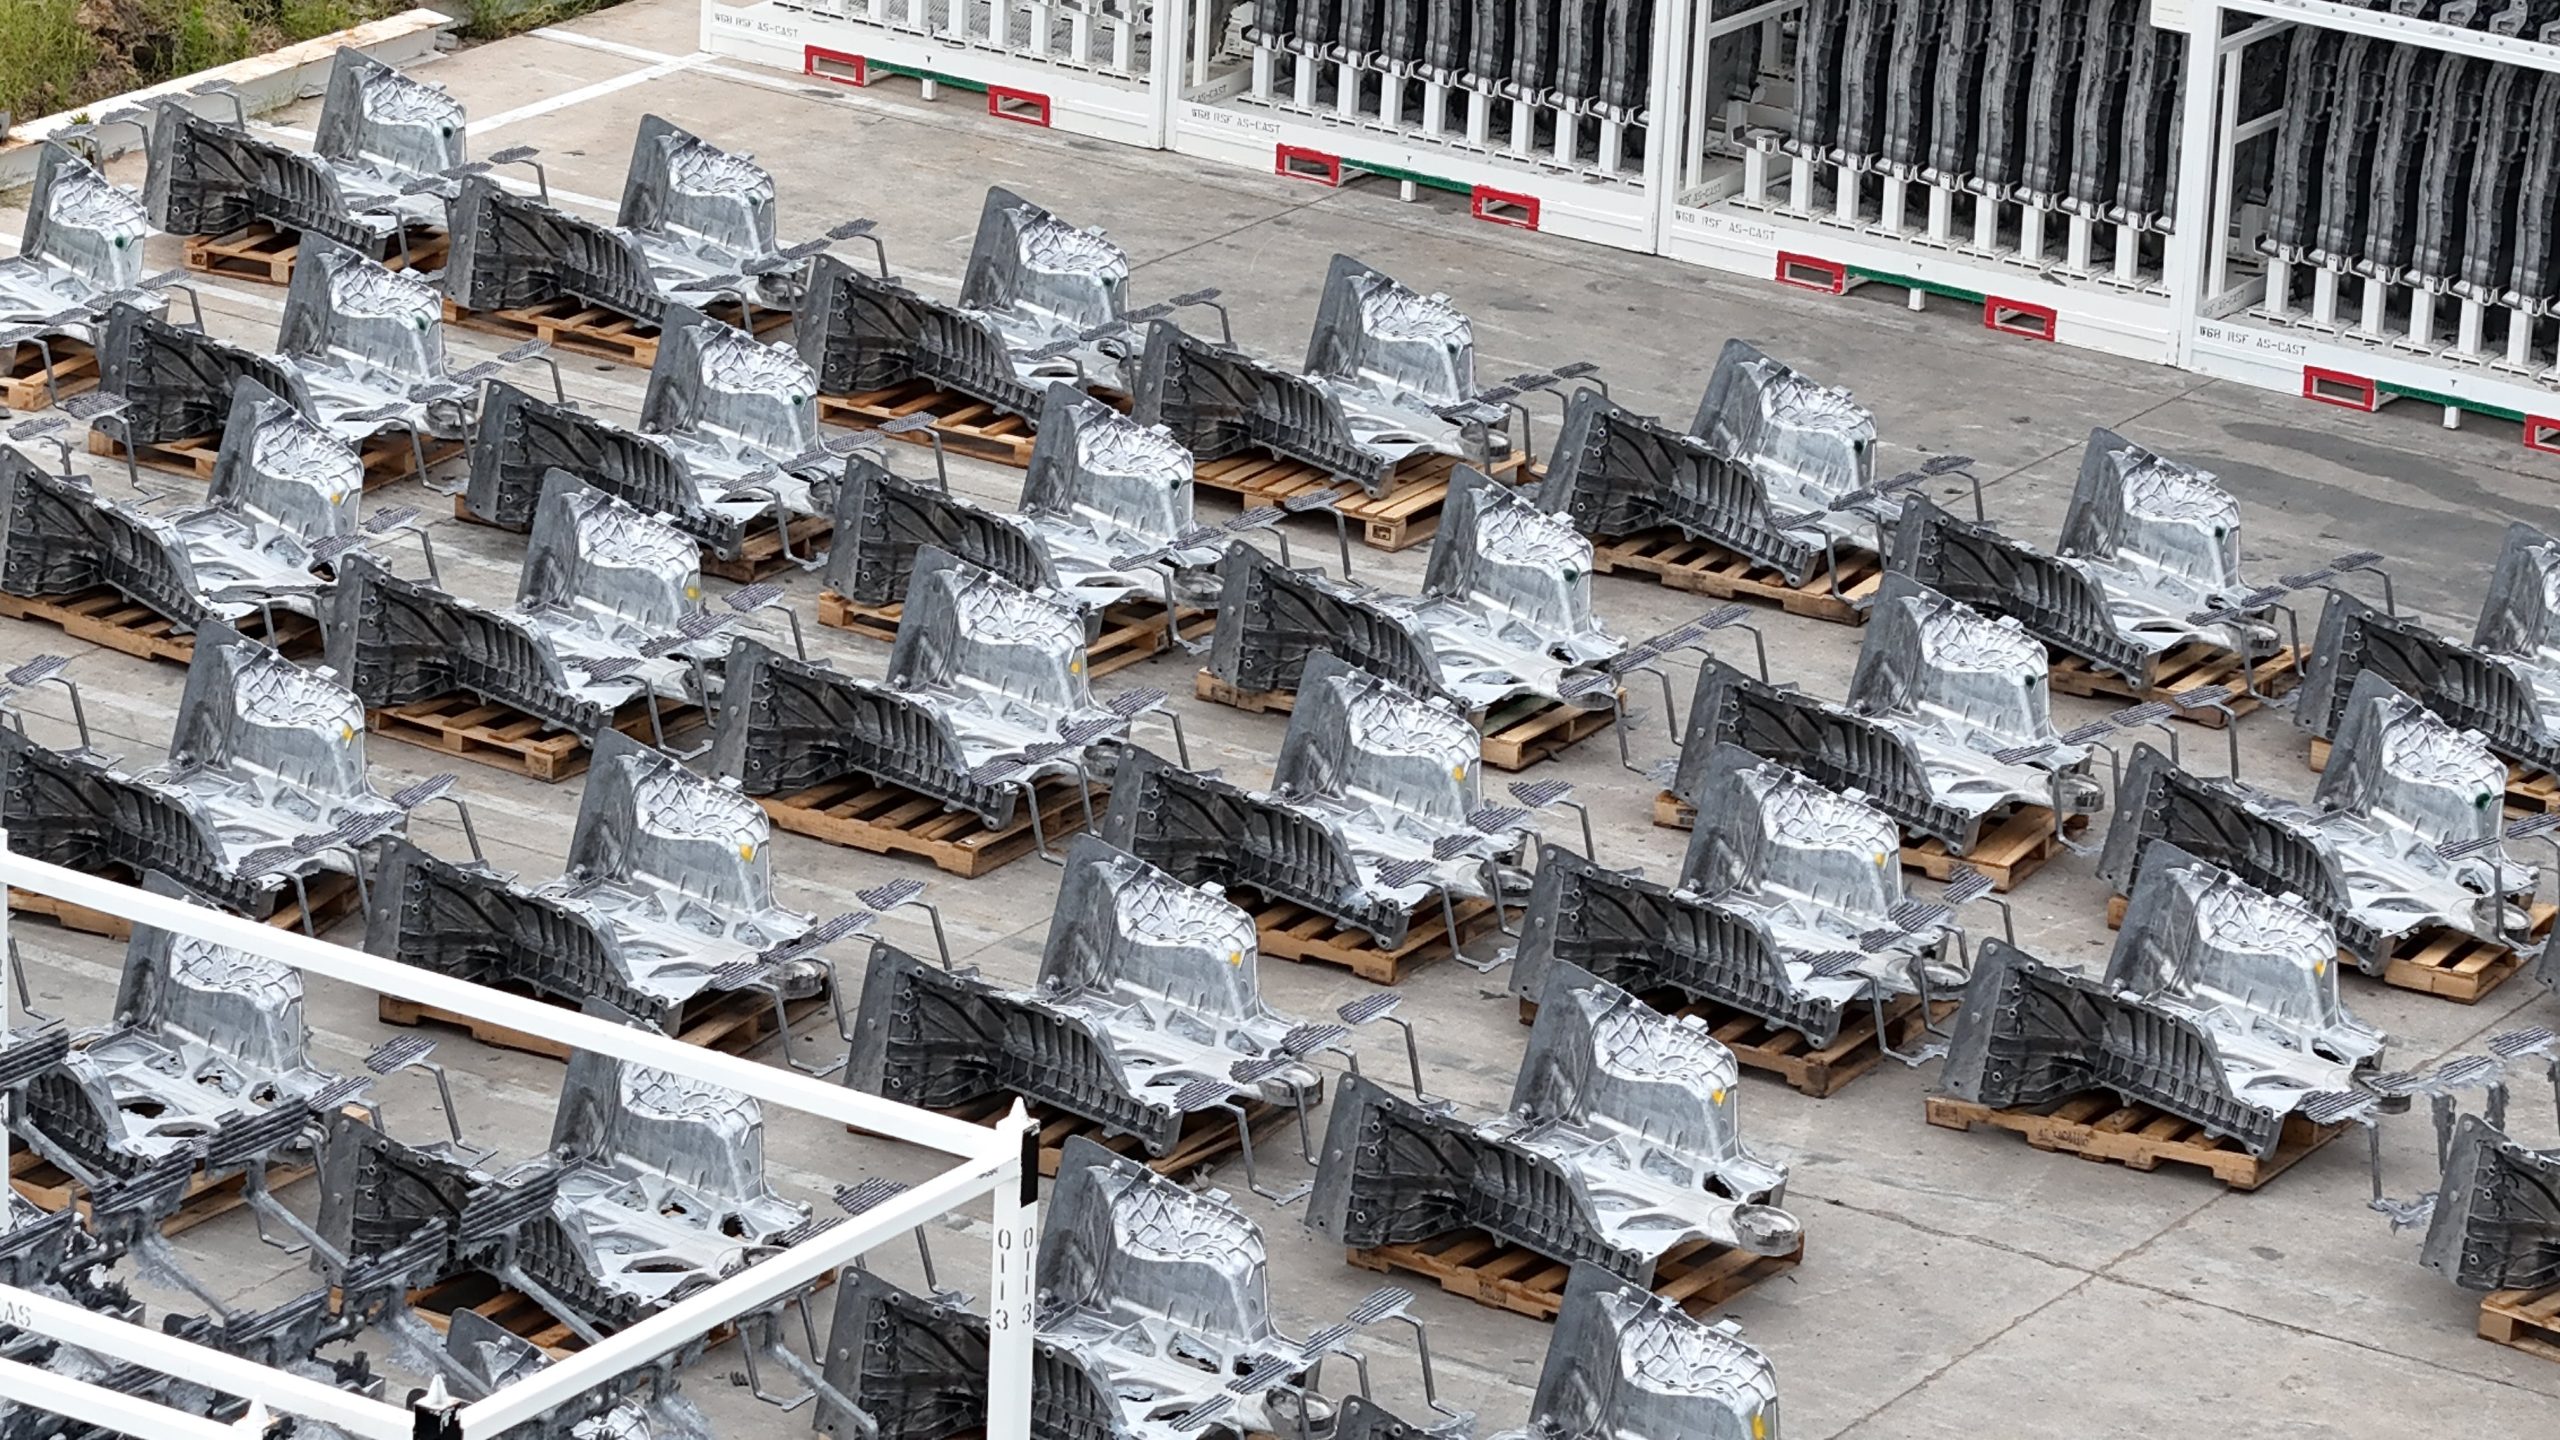
Apparent Tesla Cybercab Castings Are Piling Up in Giga Texas